How to Use Magnific AI: Step-by-Step Guide for Stunning Image Upscaling (2026)

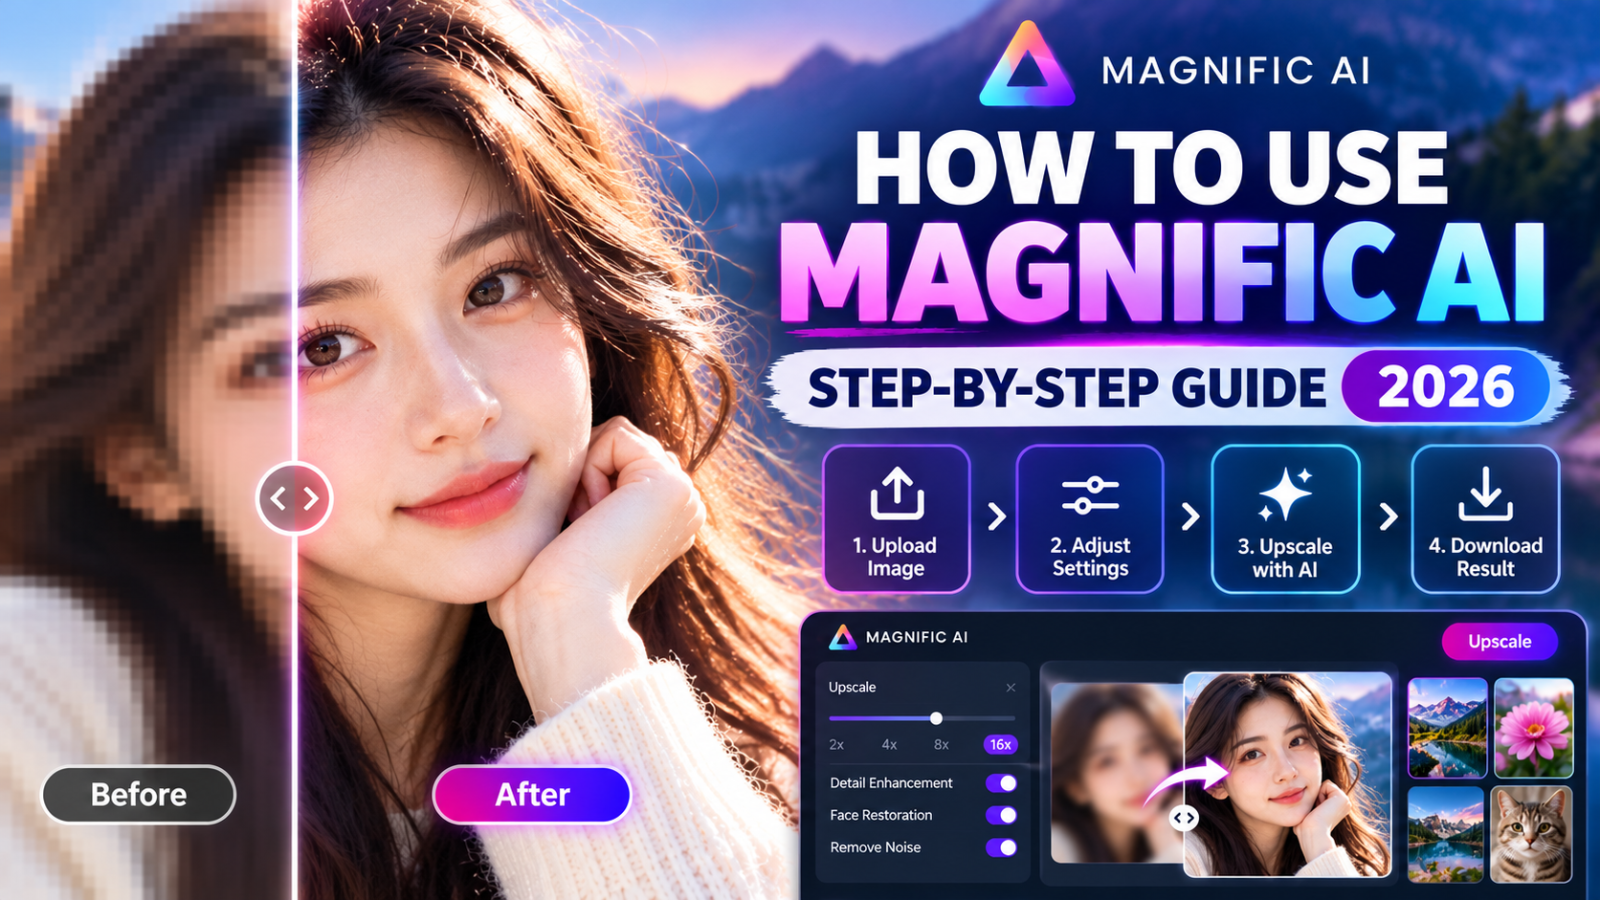
In this step-by-step tutorial, you will learn how to use Magnific AI effectively to turn low-resolution drafts into commercial-grade 8K visuals.
Step 1: Access the Platform & Upload Your Image
-
Go to the official Magnific AI dashboard.
-
Click on the Upload area or simply drag and drop your source image (JPEG, PNG, or WebP format).
-
Tip for Best Results: Start with a clear image of at least $512 \times 512$ or $1024 \times 1024$ pixels. Higher quality inputs allow the AI to generate cleaner detail enhancements.
Step 2: Choose the Right Preset Engine
Magnific AI offers specialized preset models optimized for different visual categories. Selecting the right preset ensures the AI applies appropriate textures:
-
Portraits & People: Best for human subjects, skin smoothing, eye details, and hair texture.
-
3D Renders & CGI: Ideal for digital product renders, sci-fi concepts, and game environments.
-
Art & Illustration: Preserves artistic line work, painting styles, and graphic designs without turning them into photography.
-
Landscapes & Architecture: Sharpens structural lines, foliage, glass reflections, and outdoor lighting.
Step 3: Fine-Tune the Core Parameters (Sliders)
The real magic of Magnific lies in its three core adjustment sliders. Mastering these settings gives you complete control over the final output:
1. Creativity
-
What it does: Controls how much new detail the AI "hallucinates" into the image.
-
Recommended Setting:
-
Low (1–3): For subtle cleanup, face enhancement, or keeping the output strictly loyal to the original photo.
-
Medium to High (4–7): Ideal for AI-generated art (Midjourney/DALL-E) where you want the AI to add rich micro-textures and intricate depth.
-
2. Resemblance
-
What it does: Dictates how strictly the generated image must match the original composition and facial features.
-
Recommended Setting: Keep this high (around 5–8) when enhancing portraits or recognized products to prevent the AI from altering key subject details.
3. Fractality
-
What it does: Controls the complexity and repetition of fine details (macro-patterns, geometric designs, foliage).
-
Recommended Setting: Set higher for complex landscapes or sci-fi textures; keep lower for clean portraits.
Step 4: Add Steering Prompts (Optional but Powerful)
One unique feature of Magnific is Prompt Guidance. You can type descriptive keywords into the prompt box to steer how the AI generates new details.
-
Example for Portraits:
"cinematic studio lighting, ultra-detailed skin pores, soft depth of field, 8k photographic quality" -
Example for Product Ads:
"clean modern aesthetic, hyper-realistic metal reflections, sharp edges, professional commercial photography"
Step 5: Upscale & Compare Results
-
Click the Upscale / Enhance button and wait a few seconds while the AI processes your image.
-
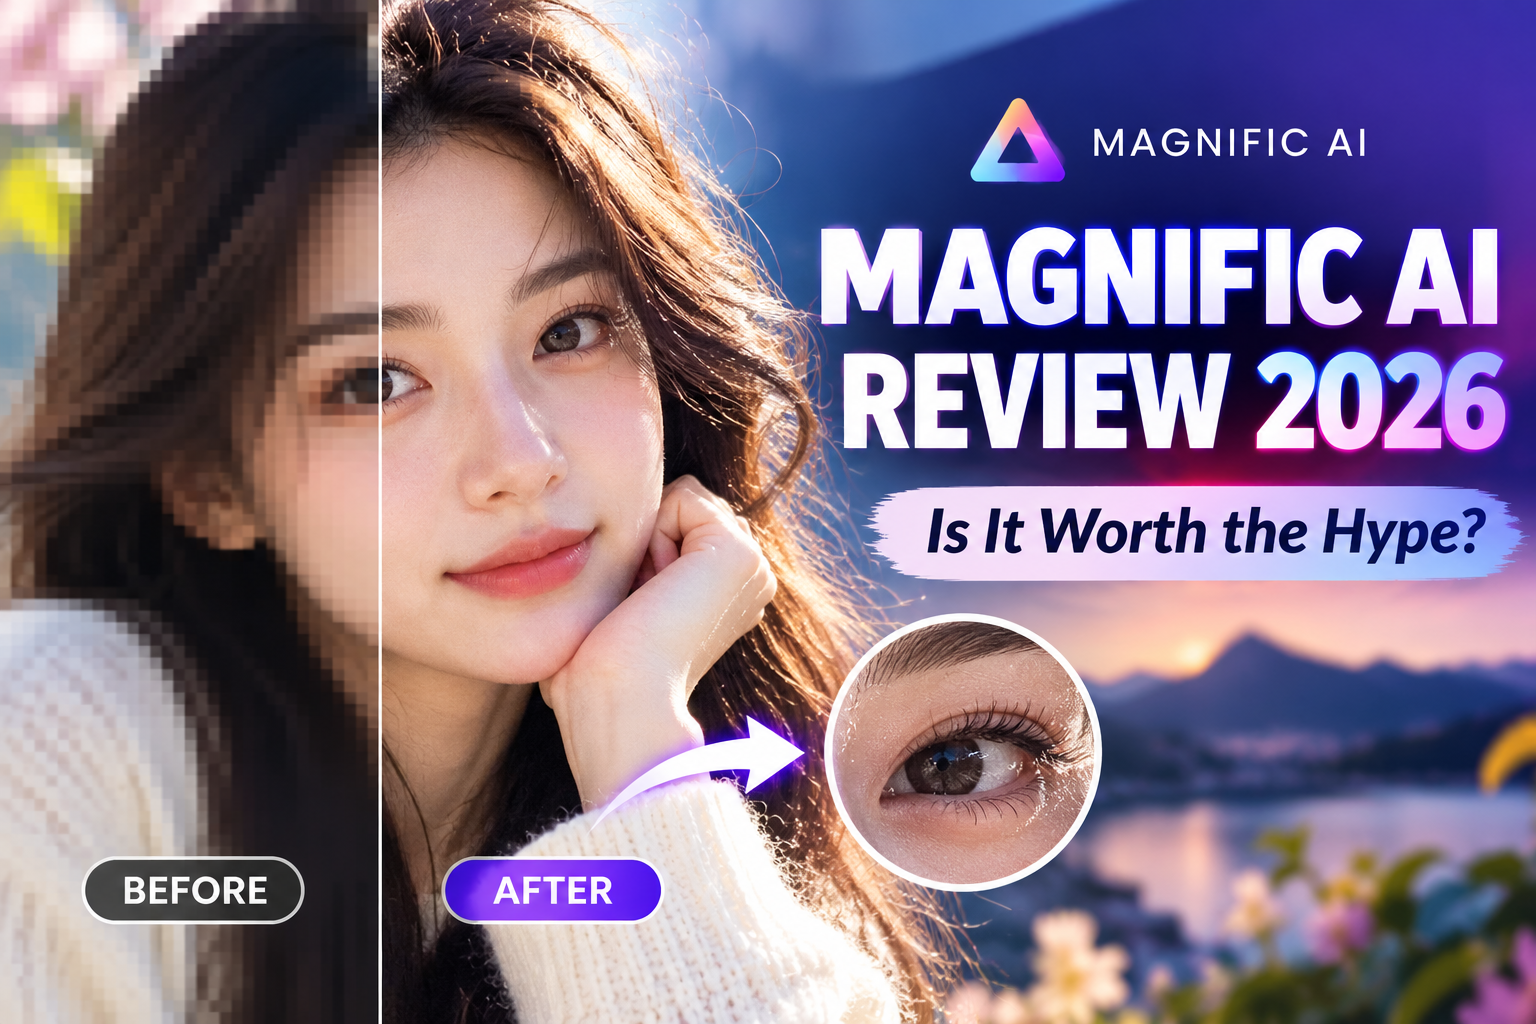
Use the Side-by-Side Split View slider to compare your original image directly against the enhanced version.
-
If the details look over-processed or unnatural, lower the Creativity slider slightly and re-generate.
-
Once satisfied, click Download to save your ultra-high-definition output.
Best Practices for Maximizing Your Magnific Credits
-
Start Small: Test your slider settings on lower upscale ratios (e.g., $2\times$) before committing credits to a massive $8\times$ or $16\times$ final render.
-
Combine with Midjourney: Generate fast concepts in Midjourney, then pass your favorite render through Magnific to achieve print-ready 8K clarity.
-
Avoid Maxing Creativity on Faces: Setting Creativity too high on human faces can alter facial expressions or change face structure entirely.
Looking for Magnific AI Subscriptions & Deals?
Ready to upgrade your subscription plan and unlock unlimited high-res image enhancements? Be sure to check for verified active promo codes before checking out!
Claim Exclusive Magnific AI Coupons & Promo Code Deals at GreatsCoupons
Popular Blog

.jpg)